Creating a custom Windows installation can be a game-changer, especially if you want to streamline your system setup, include essential software, or remove unnecessary components. Win Toolkit 2.0.5546.22023 is a powerful tool that enables users to craft a personalized Windows installation disk, making the process straightforward and efficient. This guide will walk you through the steps needed to create your own custom Windows setup.
Why Customize Your Windows Installation?
Before diving into the process, it’s important to understand the benefits of customizing your Windows installation:
- Efficiency: By integrating drivers, updates, and essential software into the installation, you save time on post-installation setup.
- Optimization: Remove unnecessary components and services that can slow down your system.
- Personalization: Tailor the installation to include only what you need, making your Windows experience more personalized.
Getting Started with Win Toolkit 2.0.5546.22023
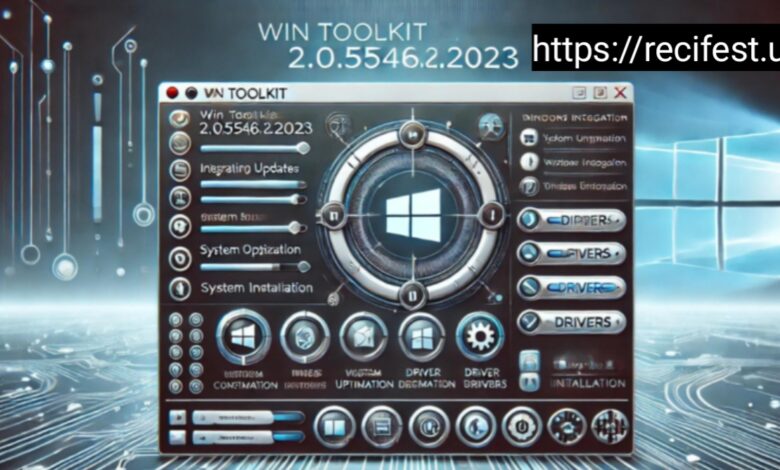
Win Toolkit is a versatile application that allows users to customize a Windows installation ISO. Before you begin, ensure that you have the following:
- A clean Windows ISO file (e.g., Windows 10).
- The latest version of Win Toolkit (2.0.5546.22023).
- Sufficient disk space to create and store your custom ISO.
Step 1: Install and Launch Win Toolkit
After downloading and installing Win Toolkit, launch the program. You’ll be greeted with an interface that offers several customization options.
Step 2: Choose Your Windows Source
Click on the “All-In-One Integrator” option to start the customization process. You’ll be prompted to select your Windows ISO file. Win Toolkit will extract the contents, allowing you to make modifications.
Step 3: Integrate Updates, Drivers, and Software
One of the key features of Win Toolkit is the ability to integrate updates, drivers, and software directly into your Windows installation.
- Updates: Navigate to the “Updates” tab and add the latest Windows updates. This ensures that your installation is up-to-date right from the start.
- Drivers: In the “Drivers” tab, you can add specific drivers for your hardware. This is particularly useful if you’re installing Windows on a machine with specialized hardware.
- Software: The “Silent Installers” tab allows you to add software that will automatically install during the Windows setup process. This is perfect for essential applications like web browsers, antivirus programs, or productivity tools.
Step 4: Customize the Installation
Win Toolkit also allows you to tweak various settings and remove unnecessary components from the installation.
- Tweaks: The “Tweaks” section lets you modify various Windows settings, such as disabling services, changing visual styles, and adjusting performance settings.
- Component Removal: If you want to slim down your installation, you can remove unwanted components like Windows Media Player, Internet Explorer, or default games.
Step 5: Create an Unattended Installation
For a hands-free installation, you can create an unattended setup. In the “Unattended” section, fill in details like the product key, user accounts, and regional settings. This eliminates the need to input information during the installation process.
Step 6: Build Your Custom ISO
Once you’ve made all your customizations, it’s time to create your custom ISO file.
- Click on the “ISO Maker” tab and select the location where you want to save the new ISO.
- Choose whether you want to create a bootable USB or an ISO image that can be burned to a DVD.
- Start the process and wait for Win Toolkit to compile your custom Windows installation.
Step 7: Install Your Custom Windows
With your custom ISO or USB ready, you can now install Windows on your desired machine. The setup will proceed with all your predefined settings, software, and drivers, offering a seamless installation experience.
Troubleshooting and Tips
- Test in a Virtual Machine: Before deploying your custom installation on a physical machine, it’s a good idea to test it in a virtual environment. This allows you to catch any issues without affecting your main system.
- Keep a Backup: Always keep a backup of your original Windows ISO and your custom ISO in case you need to make further modifications or revert to the default settings.
- Stay Updated: Regularly update your custom installation with the latest drivers and Windows updates to keep it secure and compatible with new hardware.
Conclusion
Creating a customized Windows installation with Win Toolkit 2.0.5546.22023 is a powerful way to tailor your operating system to your exact needs. Whether you’re optimizing for performance, integrating essential tools, or simply personalizing your setup, this guide has provided you with the steps to get started. With a custom Windows installation, you can enjoy a more streamlined, efficient, and personalized computing experience.